
前言
Project V 提供了单一的内核和多种界面操作方式。内核(V2Ray)用于实际的网络交互、路由等针对网络数据的处理,而外围的用户界面程序提供了方便直接的操作流程。
V2Ray 的主要作用是根据用户的配置,对于传入的网络连接进行一定处理,然后发往指定的服务器。它是一个命令行程序,可以接受一个 JSON 格式的配置文件。
v2ray相较于shadowsocks来说,配置更为复杂。但是v2ray可以通过一键脚本来进行设置:https://github.com/tracyone/v2ray.fun
这里简单记录一下手动设置v2ray。
安装
在https://github.com/v2ray/v2ray-core/releases查看并下载适合于自己系统的程序。
这里以ubuntu16.04为例。
apt install unzip -y
wget https://github.com/v2ray/v2ray-core/releases/download/v3.13/v2ray-linux-64.zip
unzip v2ray-linux-64.zip
mv v2ray-v3.13-linux-64 v2ray
cd v2ray
v2ray的使用可以参考:v2ray.com
这里记录一下简单的配置方法。
访问:https://htfy96.github.io/v2ray-config-gen/
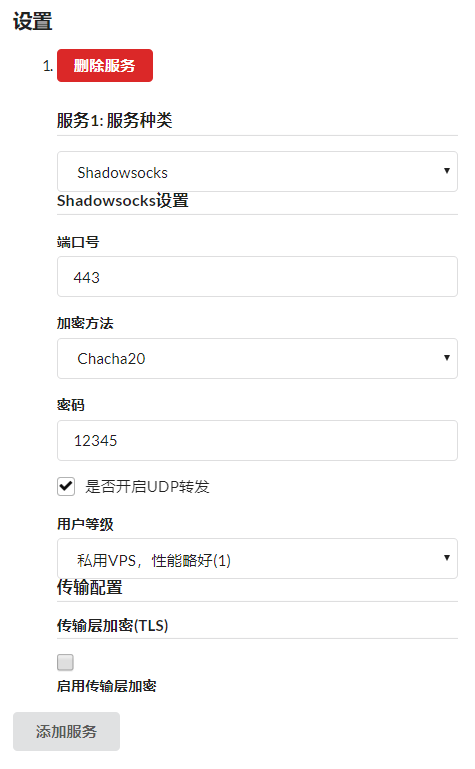
然后将配置文件内容复制到 /root/v2ray/config.json
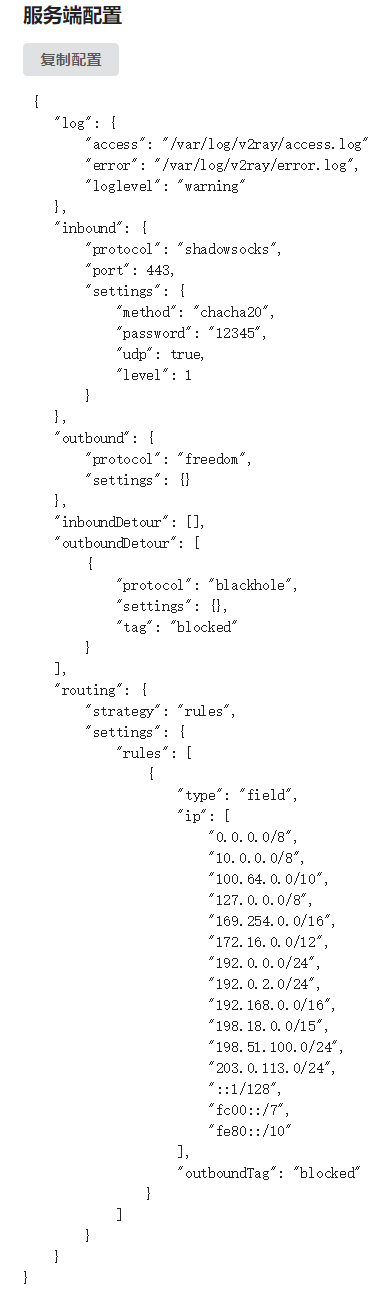
由于这里配置的是shadowsocks模式,因此使用shadowsocks的客户端即可连接。
运行
chmod +x v2ray v2ctl
./v2ray --config config.json
这里进行测试,因此程序运行在前台,测试无误之后,ctrl+c退出,然后配置自启动。
将下面的内容粘贴到 vi /etc/systemd/system/v2ray.service
[Unit]
Description=V2Ray Service
After=network.target
Wants=network.target

[Service]
Type=simple
PIDFile=/var/run/v2ray.pid
ExecStart=/root/v2ray/v2ray -config /root/v2ray/config.json
Restart=on-failure

[Install]
WantedBy=multi-user.target
启动
systemctl enable v2ray && systemctl start v2ray
mkcp
v2ray可以使用mkcp协议大幅的提高速度,但是使用mkcp可能导致主机商认为你的VPS在对外攻击而封锁你的VPS,也有可能更容易被墙认证。
想要使用mkcp直接在上面的网站中选择KCP协议即可。
当然你也可以自己手动调整设置,在第一个{后面添加如下内容
   "transport": {
	"kcpSettings": {
	"mtu": 1350,
	"tti": 20,
	"uplinkCapacity": 5,
	"downlinkCapacity": 20,
	"congestion": true,
	"readBufferSize": 1,
	"writeBufferSize": 1,
	"header": {
	"type": "none"
		}
	}
    },
然后在"inbound": {后面添加如下内容
	    "streamSettings": {
        	"network": "mkcp"
			}
transport内是全局设置,你可以针对每一个入站流量单独设置,全局设置不会更改单独的设置
uplinkCapacity和downlinkCapacity决定了 mKCP 的传输速度。以客户端发送数据为例,客户端的uplinkCapacity指定了发送数据的速度,而服务器端的downlinkCapacity 指定了接收数据的速度。两者的值以较小的一个为准。推荐把downlinkCapacity设置为一个较大的值,比如 100,而uplinkCapacity设为实际的网络速度。当速度不够时,可以逐渐增加 uplinkCapacity的值,直到带宽的两倍左右。
参考链接:v2ray.com
https://htfy96.github.io/v2ray-config-gen/